
How to use filters in Paymo
A quick guide on how filters work in Paymo. Learn how to filter tasks, projects, time entries, invoices and more. You can also save favorite filters for future re-use.
Filters are unified across views, which means that the filters you select in ‘List view’ show up in all views within the module as well. For example, in ‘Projects’ > ‘ Tasks’, there are 5 available views — List, Table, Board, Calendar, and Gantt view.
All modules in Paymo have a filter option, and each module has its specific filters to help you narrow down the information you need.
You can quickly add filters by typing, selecting, or a combination of both.
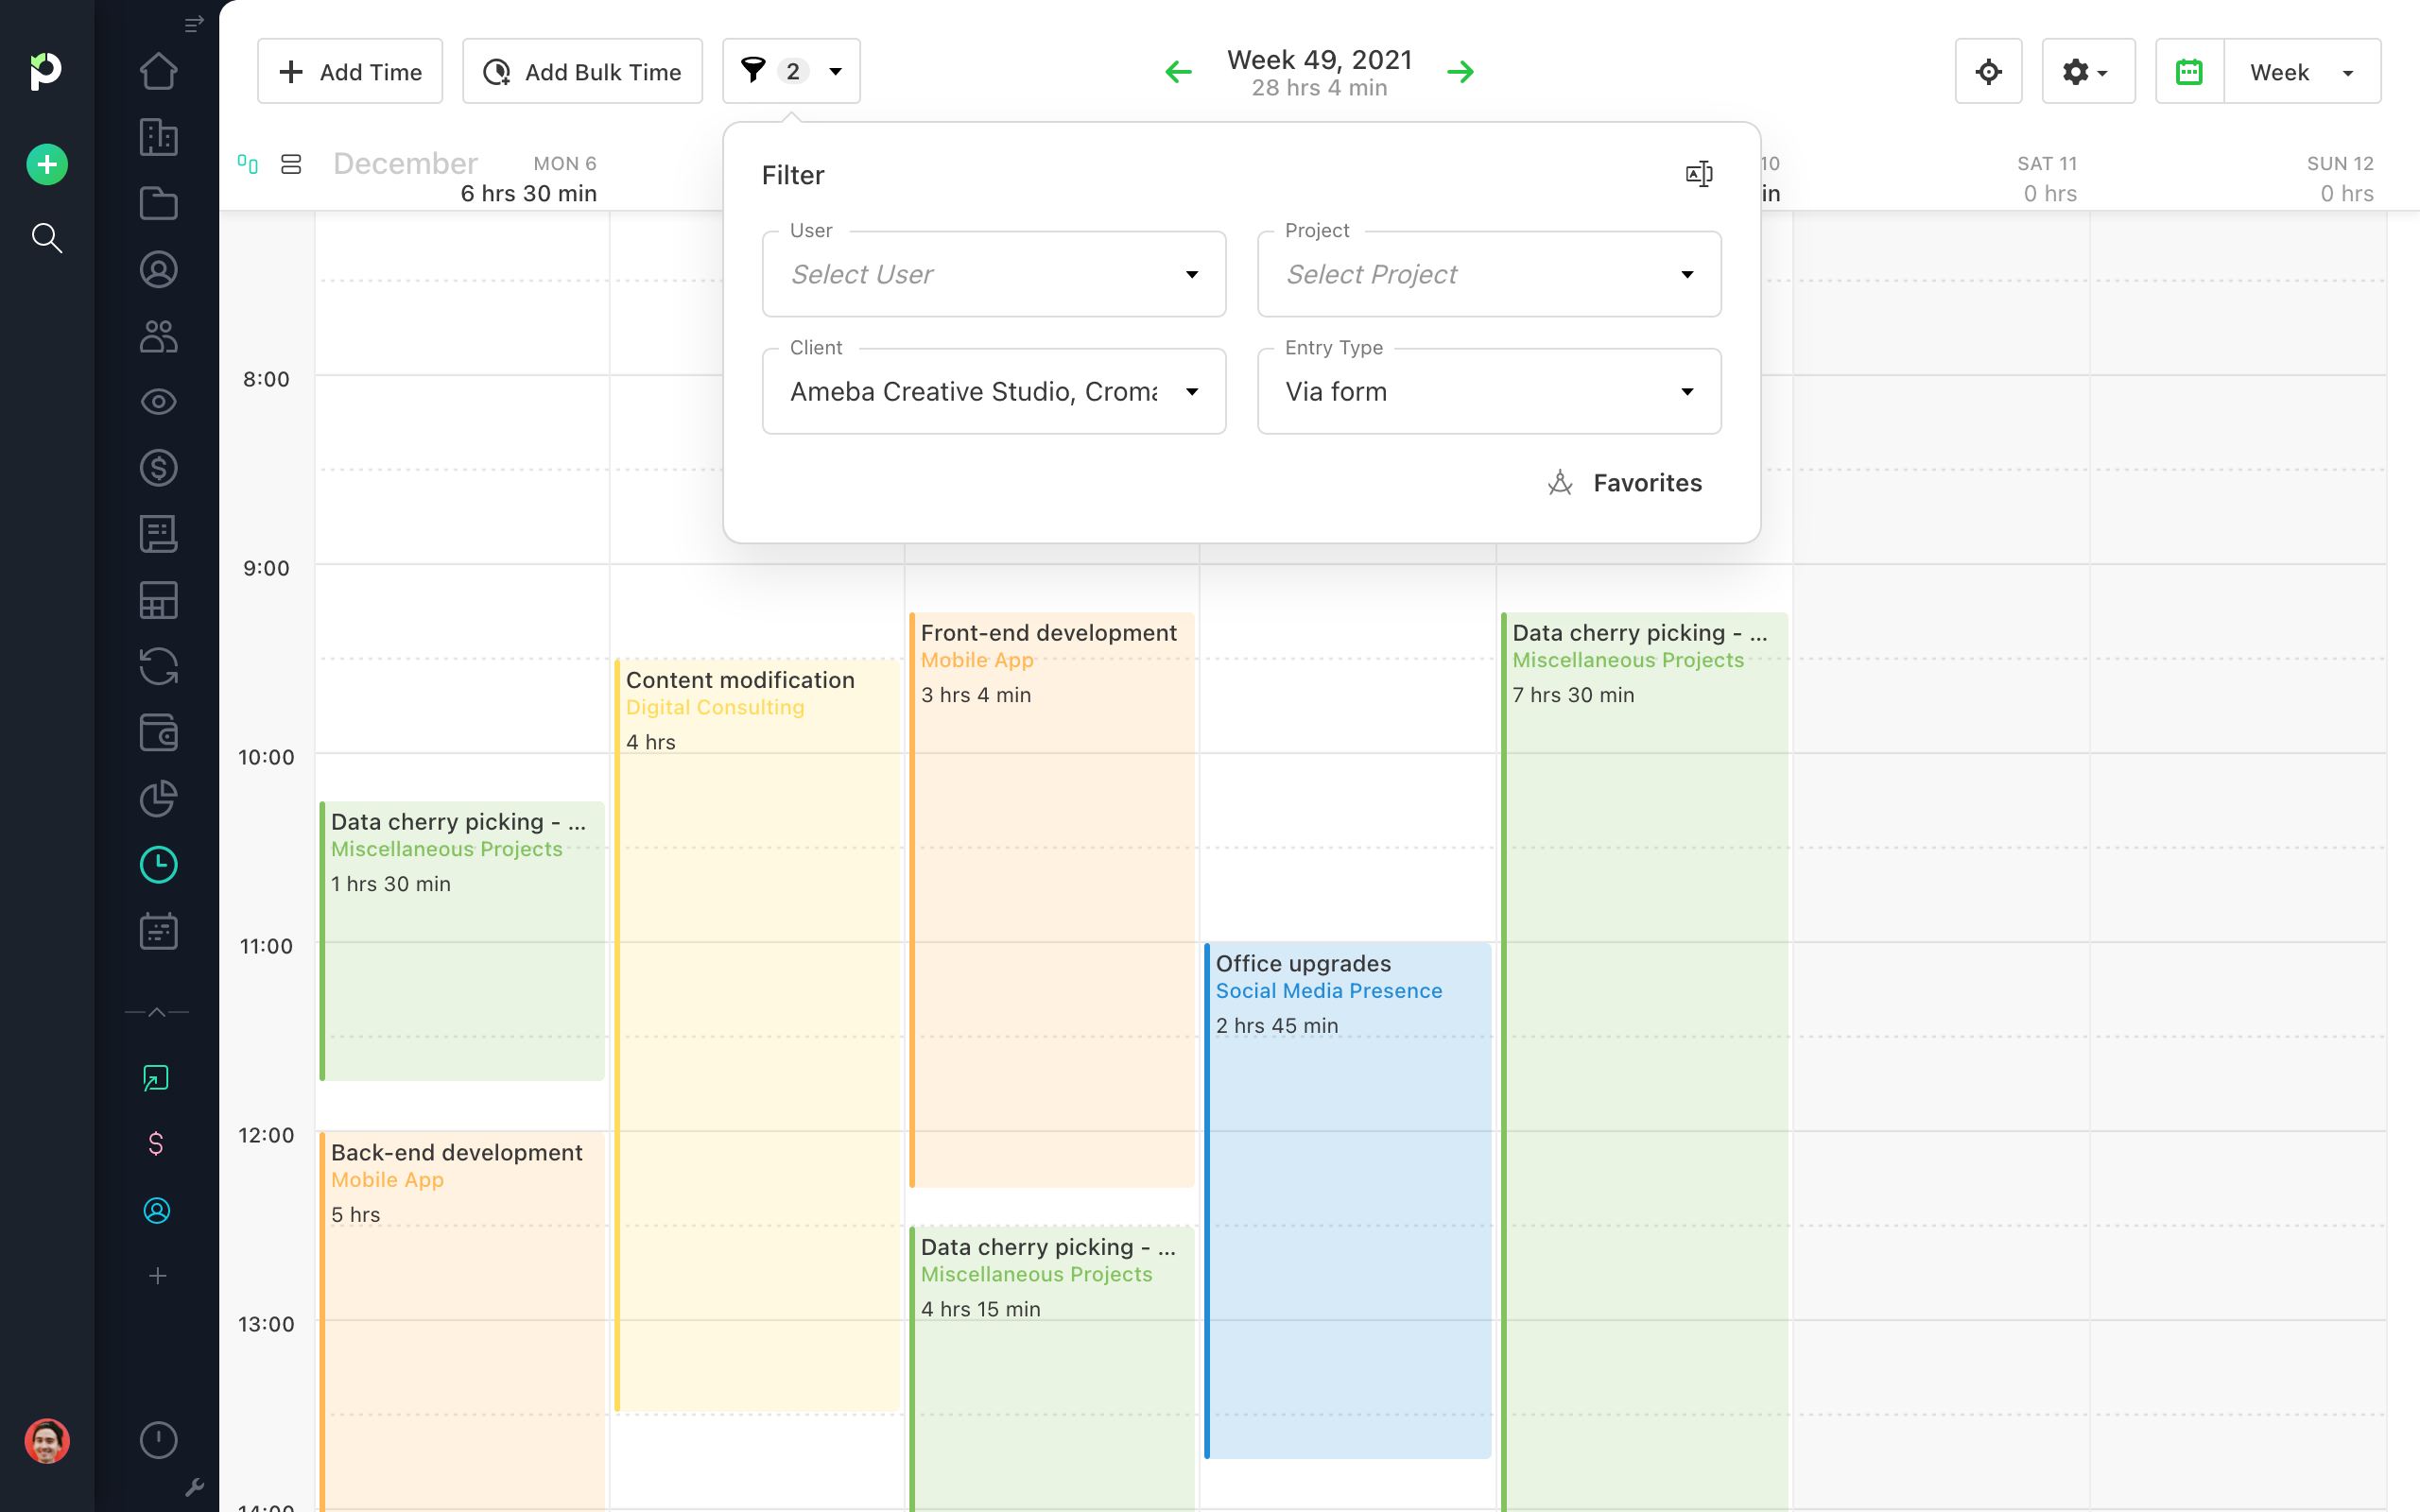
How filtering works in Paymo
Let’s start by filtering Tasks step by step.
In Home > ‘My Tasks’ or ‘Team’s Tasks’, click on the Filter Icon.
You can run a quick search by name or
Click 'Add Filter', e.g. Project.
Either type in or select from the dropdown list the information you need.
Click ‘Confirm’ to validate your selection, or ‘Clear’ to erase it.
If you click ‘Confirm’, it will automatically update your view.
Next, you can choose to select another filter, type in your quick search, or
Click elsewhere to hide the Filter area.

Clearing items and filters:
If you want to clear an item from a filter, click on the black ‘x’ mark in the item box.
If you want to clear a filter, click on the red ‘x’ mark in the grey filter area.
To clear all filters, hit Backspace to delete them one by one.
PRO TIP: In each Paymo module, the search function applies to specific filters. For instance, in Projects, the quick search applies to Name, ID, and Client Filter. Start typing the relevant information, like in the example below:
What is "Favorites"
You can save a set of filters by clicking on ‘Favorites’, then 'Save Filters As Favorite'. Name your preset and click ‘Save Favorite’. Now, select your preset by clicking on 'Favorites', where you can find the 'My Filter Favorites' list.

Caveat: Saved presets apply only to their corresponding modules. For example, Invoicing presets don't apply to the Timesheet module.
Toggling all filter options
If you want to see all the filters at a glance, toggle the “Show all filter options” view in the upper right corner. In the dropdown form, select the relevant information one by one.
Keyboard shortcuts for quick filtering
You can use keyboard shortcuts for Windows and Mac to add or clear all the filters you need.
Shortcuts in the filter area. First, click on ‘Add Filter’. Then, hit the following keys
Tab → to go on to the next filter.
Shift + Tab → to go back to the previous filter.
Backspace → to clear the last filter. Hit Backspace again to clear the rest of the filters.
Esc → to close the filter popup. Hit Esc again to close the filter area.
TIP: Use the TAB key to ‘Confirm’ your selection.
Shortcuts in a specific filter. After you’ve typed in your desired filter, e.g. Status:
Down Arrow → to navigate to the next item down the list.
Up Arrow → to navigate to the previous item up the list.
Enter → to select an item.
Backspace → to clear previous selections, one by one.
Esc → to close the filter popup. If there’s no selection, the filter is automatically cleared.
Shortcuts in a specific filter with values or intervals (e.g. Task Name or Invoice Total). After you’ve typed in the relevant information, hit:
Enter → to apply the filter.
Backspace → to clear the selection/filter.
Esc → to close the filter popup.
Read more
We’ve covered how filters work in tasks. Check out our how-tos for other Paymo modules:
Did this answer your question?